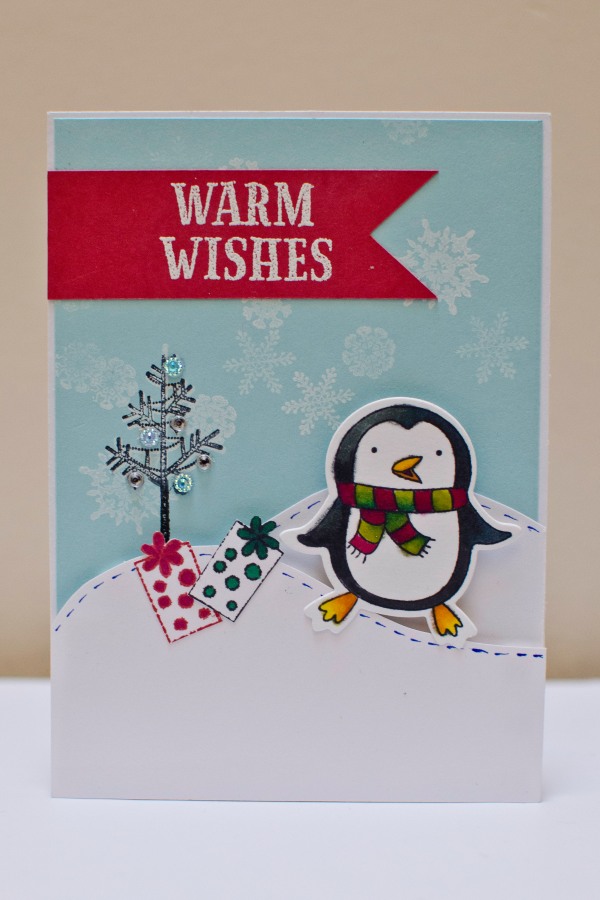
Today’s tutorial will be on how to make a fast and easy snowman Christmas card. If you’re pressed for time or need to pump out 15 of these in one night, this is the card for you! All of my stamps, embossing folders and papers can be replaced with anything you might have at home so you don’t need exactly the same ones to make a fun and spirited card!
I love to watch Kristina Werner tutorials on Youtube and this card was definitely inspired by her creative style. Hop over to her youtube channel to check out some of her techniques and tutorials as well!
What you’ll need:

1. card and envelope – 4 x 5 1/2 inches
2. printed Christmas cardstock in green and red – preferably with gittery designs
These are cut in the following dimensions:
Red: one rectangle of 3 x 2 1/2, and one strip of 1/2 x 4 inches, with rounded corners
Green: one banner of 1 1/2 x 4 inches
3. An embossing folder, preferably with a simple design like bubbles
4. Snowman stamp – I’m using the Imaginisce Snag ’em #003367
and acrylic stamp block if needed
5. One cream cardstock rectangle of 2 3/4 x 2 1/4 inches with rounded corners for stamping the snowman image

6. Foam dots
7. ATG gun
8. Green or red stickles
9. Corner rounder punch
10. Versamark stamp pad
11. Silver detail embossing powder – recollections
12. Heat tool
13. Silver marker
14. Rhinestones in red, green or silver
Instructions:
1. Take the folded card and putting only front flap of the card in the embossing folder and wrapping the back of the card around the back of the embossing folder, run the sandwich through your die-cutting machine.

2. Take the small cream cardstock rectangle of 2 3/4 x 2 1/4 inches and stamp the snowman image using versamark or your favorite embossing stamp pad. Generously sprinkle silver embossing powder over the stamped image over a large piece of scrap paper. Optional, before stamping, use a sachet of baby powder and cornstarch, or the EK success powder brush tool and generously dab powder over the front of the cardstock to prevent flyaway embossing powder. This helps to build a very sharp embossed image since embossing powder tends to stick to the cardstock in non-stamped areas. I always forget this step haha but you should do it because it’s good for you!
Using a prewarmed heat tool, hold the cardstock with tweezers (to avoid burning fingers!) and blast the image with the heat tool to melt the embossing powder. Set aside to cool for a few seconds.

3. Using green stickles, fill in areas of the stamped image where you feel it needs a little extra bling! I selected the snowman’s scarf and the little bird’s hat. Set aside to dry at least 30 min. Then using a tape runner, mount this stamped image on to the red printed cardstock rectangle to make a red frame.
Optional – apply 2-3 rhinestones in a line but apply them so that they’re asymmetrically distributed. Asymmetry will make the card look unique and stand out.

4. While your stickles are drying, assemble the embellishments for your card. Using your tape runner, tape the small red strip to the large green strip of paper (as shown) above.
5. Apply all the different pieces to your embossed card. Start with the Green and red banner, place it about 1/3 of the way from the bottom using your tape runner on the back of the banner. Do not attempt to run your tape runner across the embossed front of the card as it will deflate your embossed image. Then using foam adhesives, mount the image of the embossed and stickled snowman to give the card an extra level of dimension. Using your corner rounder, round the corners of the card. Finally, pat yourself on the back for a job well done!


And that’s it! Thanks for tuning in this week for this fast and easy Christmas card tutorial! I will try to post a new tutorial once a week and since we’re fast approaching the holiday season, I’ll be focusing on Christmas card tutorials! Many of my scrapbooking friends have already finished or are nearly finished their Christmas cards this year so for those of you who haven’t started, my tutorials will make holiday card making a breeze.
Please be sure to SHARE your creations and comment below if you have any questions 🙂


