I’ve been really into watercolors and the versatility of them. However, I have very little skill in drawing, which makes watercoloring difficult…or so I thought. I recently started watching Art Impressions tutorials on Youtube where they use their watercolor stamps with water-based markers to stamp with. Then they go in with a waterbrush and just smudge out the lines to color in the structures. The end result is a gorgeous watercolor scenery that took minimal effort to make. They make it look so easy.
Unfortunately, I don’t have any Art Impressions stamp sets but I did pick up “Birch Land” stamp set from Altenew (one of my favorite brands!!!) on a previous haul. This stamp set features a beautiful tree with branch pieces and different sized arrays of leaves.

The details in this stamp set is beautiful, the lines are super crisp and the stamp set was meant to be layered. I love the sentiments in this stamp set and how I can mix and match words to make a custom sentiment.
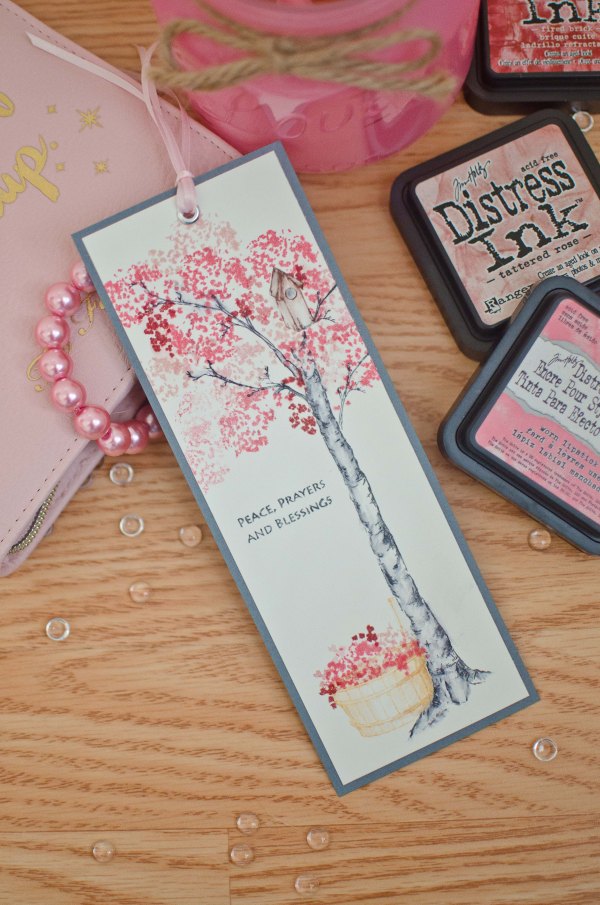
I used Tombow Dual Brush pens in the Landscape Palette to stamp the tree, branches and bird house. I also used Distress Inks to stamp the leaves.
And this is what I came up with!

I started with a long strip of water color paper that I had left over from another project.
For the tree and branches I used Tombow N25. Then taking a waterbrush (a wet watercolor brush will work fine too) I went over some of the inked parts on the tree and branches and started pulling some of the ink towards the centre of the tree to color it in. I made sure not to color the entire tree “grey” so that there are some dark spots and some light spots to add additional dimension. This part may need some practice as pulling too much ink inwards could blur the lines and lose detail in the work.
For the birdhouse I used Tombow 899. Again I used the waterbrush to color in the birdhouse.
The blossoms were stamped using a mix of Distress inks in work lipstick, tattered rose and fired brick. Layering these worked really well just keep in mind that if you’re unsure of where to begin, always start with the lightest color first. You can always stamp over it with a darker color later.
The basket was stamped in Distress Ink dried marigold. Then I stamped the same ink pad on an acrylic block and picked up some of the color with a damp brush and started coloring the basket in, leaving a bright/light spot in the middle to give the basket more dimension.
Finally, I finished the wet media part by stamping a sentiment.
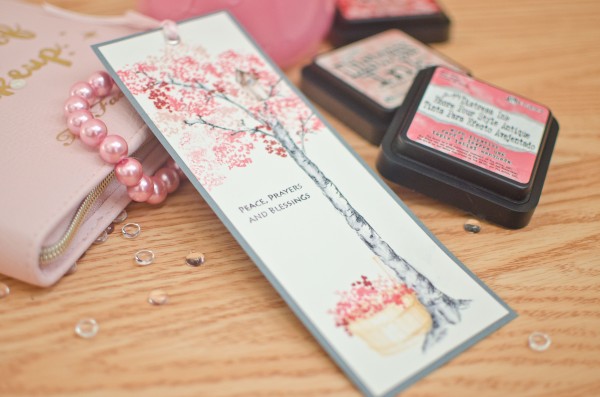
To finish everything off, I cut the top white space of water color paper off the top and adhered it onto a grey piece of cardstock. Then I added a silver eyelet at the top and strung some strands of pink ribbon through.
To preserve the watercolor and prevent it from fading and smearing, spray it with a light mist of cheap hairspray to seal everything. Learned this trick from my watercolor instructor when I still took art lessons.
Hope you enjoyed this tutorial, let me know what you think in the comment box below. And let me know if you tried this or if you have any questions about what I did!