
If you’re just looking for the cutting file, the edited version of the letter “G” can be downloaded here
For tutorial, please see below!
Hello! It’s been some time since my last blog post! So much has happened and it’s been a whirlwind of activity. I finished my doctorate degree, moved across the continent to the east coast where I’ve set up my new home and started a post-doc fellowship. But I couldn’t leave without bringing with me my precious crafting supplies! I even packed my Silhouette Cameo in my luggage (I’d forgotten to pack it in the shipping cube…oops!).
After we got set up in our new home, our baby came join us in the east coast and he had a big road trip all the way from Vancouver!
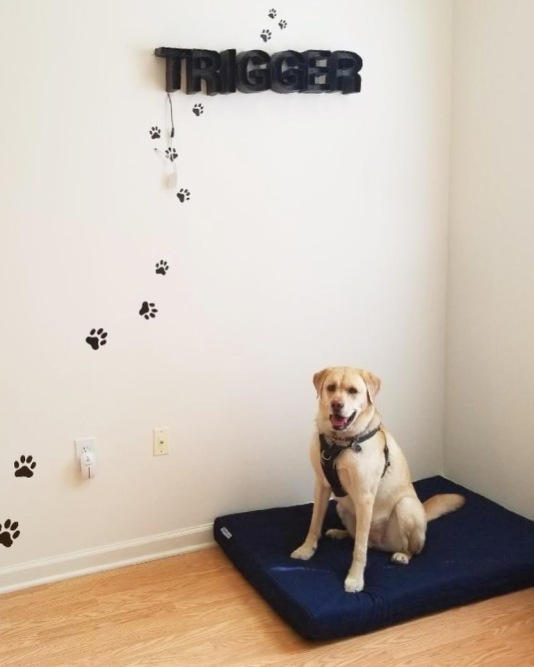
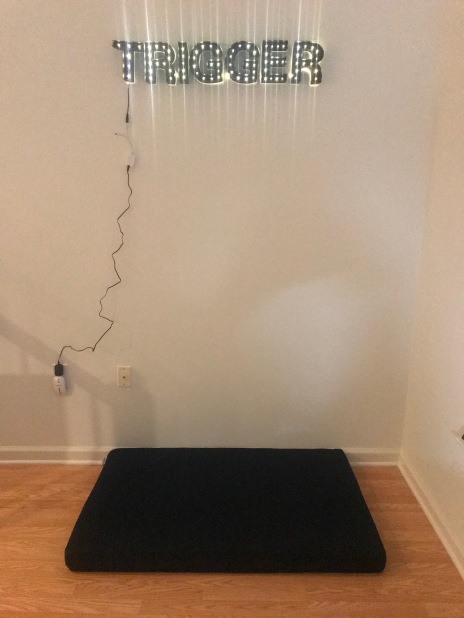
To welcome him home, I decorated his own little corner. I wanted to make it really special write his name out in lights! So I made 3D marquee letters that actually light up by remote control! It took a whole week’s worth of evenings but it was well worth it. It turned out better than I imagined!
I used paper to make the 3D letters using Carina Gardner’s marquee 3D letters cutting files from the Silhouette design store. The files and a tutorial from Carina Gardner can be found here.
In general, I really liked these letters; however, I found that some of the letters were somewhat confusing to assemble and some pieces were sized a little strangely so they weren’t the same size as the other letters. I don’t know if I assembled them erroneously as I found the that there were minimal instructions. There were some guidelines on Carina Gardner’s website. As a perfectionist, this bothered me a lot so I edited some of the pieces. For example, for the letter “G”, one piece was too long so I shortened it, and rounded out a bit more the front piece. This 3D “G” letter can be downloaded here.
Some of the other rounded type letters like the R could also be shaped a bit better but the straight letters like the “I” or the “T” could very easily be assembled. For additional questions on assembly, check out Carina Gardner’s website or leave a comment below.
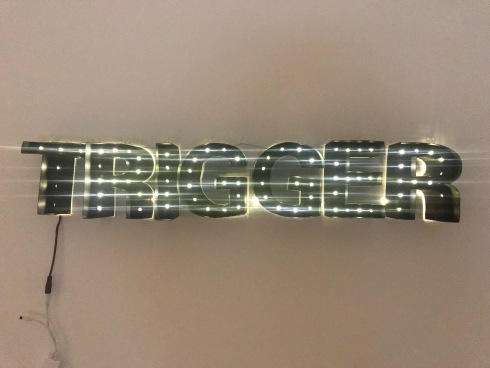
To make the letters light up, I purchased dimmable fairy lights from Amazon

The fairy lights came with a remote control too so that I could control brightness of the lights. The wire also bends so that I can make it into any shape I like. I really LOVE these fairy lights!!! Also they’re LED lights so they don’t heat up even after being on a long time so that there’s virtually no fire hazard. Remember that the letters are made of paper and if you use non-LED lights, they may heat up and burn the paper and cause a fire.
To attach the fairy lights, I lined up the lights with the holes in the marquee letters and just used a strong tape (here I used masking tape) to adhere the wire part to the back of the letters.
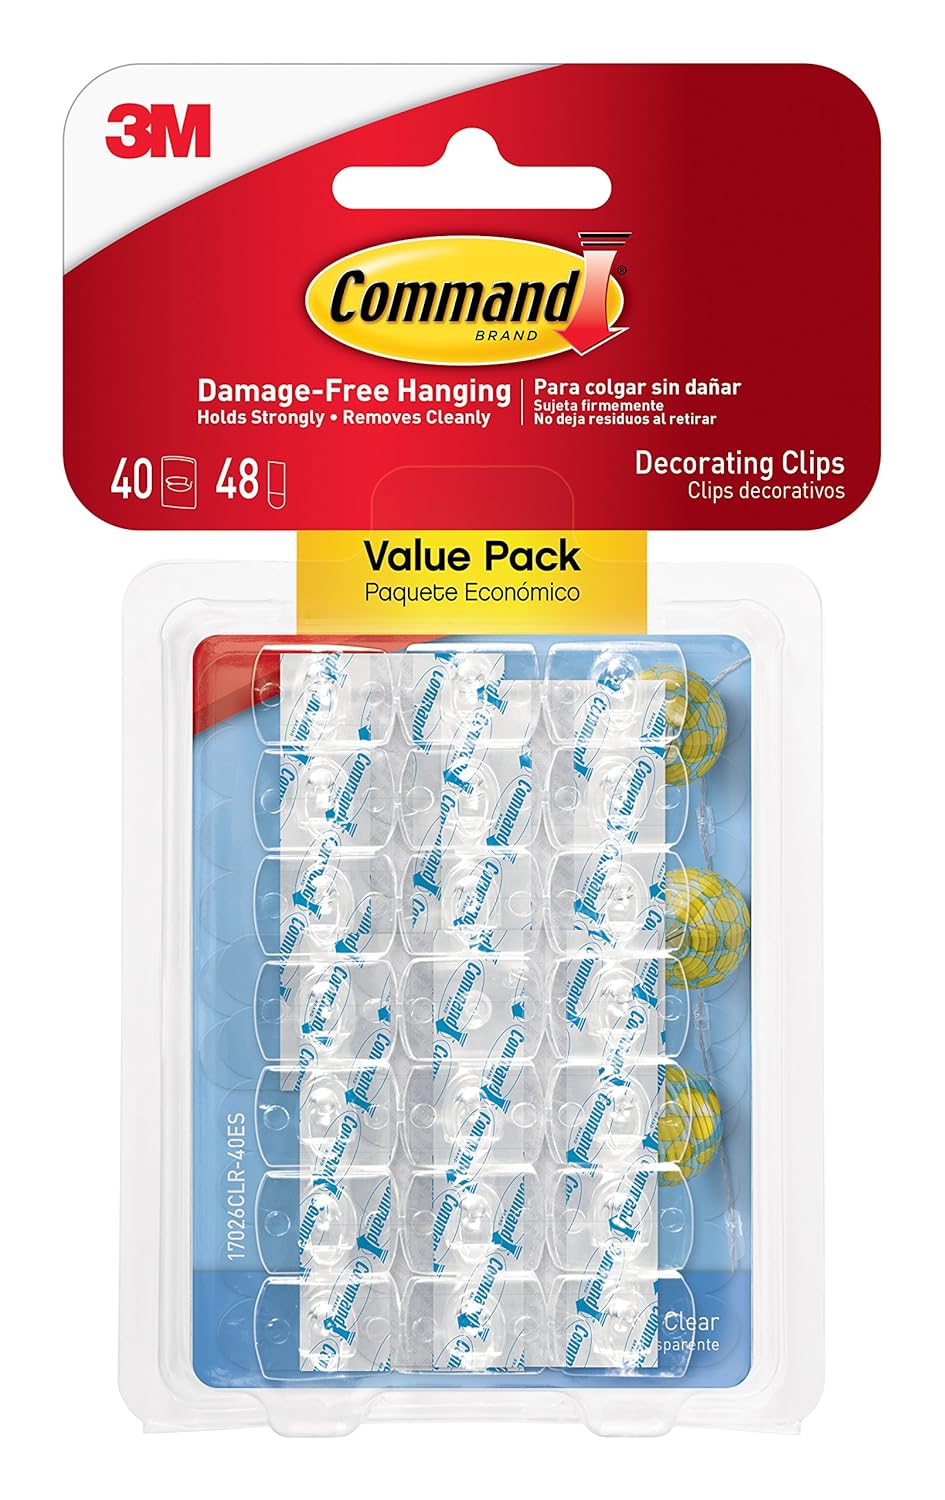
To hang the letters on the wall, made holes using a hole punch on the sides at the top of each letter and just strung a string through all the letters. I hung the letters to the wall using a dozen and half of these Command decorating tips. These are great because they don’t damage the wall.
And here’s the final product:
Hope this tutorial was easy enough to follow! Leave a comment below and let me know how you liked this tutorial!
Tagged: 3D, 3D crafts, fairylights, light up, marquee, marquee letters, paper crafting, paper crafts, paper cutting, Silhouette Cameo, tutorial


Leave a comment