Category Archives: handmade

Cherry Blossom Watercolor Tutorial

I’ve been really into watercolors and the versatility of them. However, I have very little skill in drawing, which makes watercoloring difficult…or so I thought. I recently started watching Art Impressions tutorials on Youtube where they use their watercolor stamps with water-based markers to stamp with. Then they go in with a waterbrush and just smudge out the lines to color in the structures. The end result is a gorgeous watercolor scenery that took minimal effort to make. They make it look so easy.

Unfortunately, I don’t have any Art Impressions stamp sets but I did pick up “Birch Land” stamp set from Altenew (one of my favorite brands!!!) on a previous haul. This stamp set features a beautiful tree with branch pieces and different sized arrays of leaves.

Birch Land Stamp Set - Altenew

The details in this stamp set is beautiful, the lines are super crisp and the stamp set was meant to be layered. I love the sentiments in this stamp set and how I can mix and match words to make a custom sentiment.

I used Tombow Dual Brush pens in the Landscape Palette to stamp the tree, branches and bird house. I also used Distress Inks to stamp the leaves.

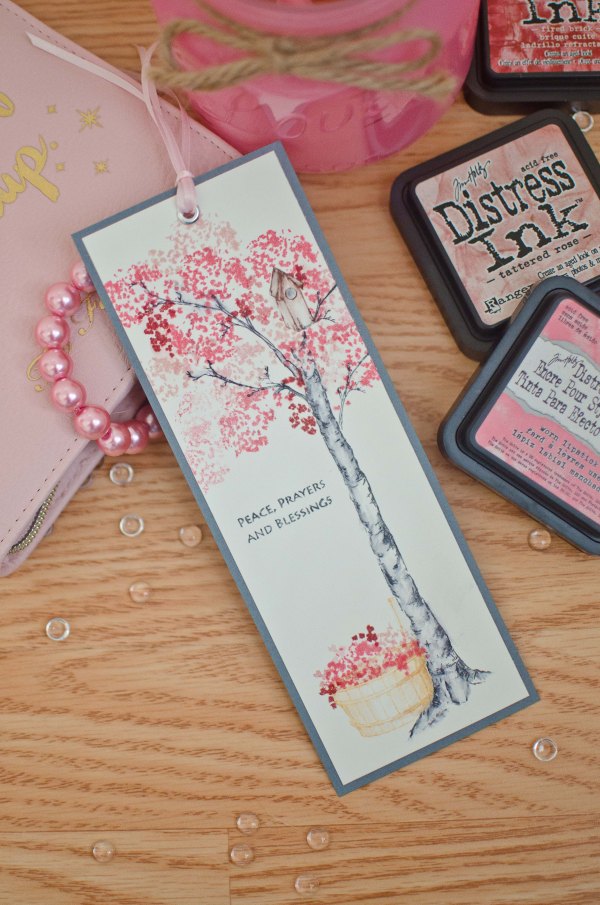
And this is what I came up with!

Cherry blossome bookmark (1 of 5)

I started with a long strip of water color paper that I had left over from another project.

For the tree and branches I used Tombow N25. Then taking a waterbrush (a wet watercolor brush will work fine too) I went over some of the inked parts on the tree and branches and started pulling some of the ink towards the centre of the tree to color it in. I made sure not to color the entire tree “grey” so that there are some dark spots and some light spots to add additional dimension. This part may need some practice as pulling too much ink inwards could blur the lines and lose detail in the work.

For the birdhouse I used Tombow 899. Again I used the waterbrush to color in the birdhouse.

The blossoms were stamped using a mix of Distress inks in work lipstick, tattered rose and fired brick. Layering these worked really well just keep in mind that if you’re unsure of where to begin, always start with the lightest color first. You can always stamp over it with a darker color later.

The basket was stamped in Distress Ink dried marigold. Then I stamped the same ink pad on an acrylic block and picked up some of the color with a damp brush and started coloring the basket in, leaving a bright/light spot in the middle to give the basket more dimension.

Finally, I finished the wet media part by stamping a sentiment.
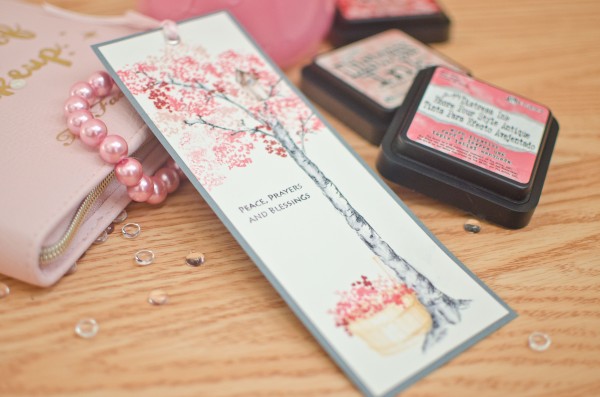
Cherry blossome bookmark (4 of 5)

To finish everything off, I cut the top white space of water color paper off the top and adhered it onto a grey piece of cardstock. Then I added a silver eyelet at the top and strung some strands of pink ribbon through.

To preserve the watercolor and prevent it from fading and smearing, spray it with a light mist of cheap hairspray to seal everything. Learned this trick from my watercolor instructor when I still took art lessons.
Cherry blossome bookmark (3 of 5)

Hope you enjoyed this tutorial, let me know what you think in the comment box below. And let me know if you tried this or if you have any questions about what I did!

 

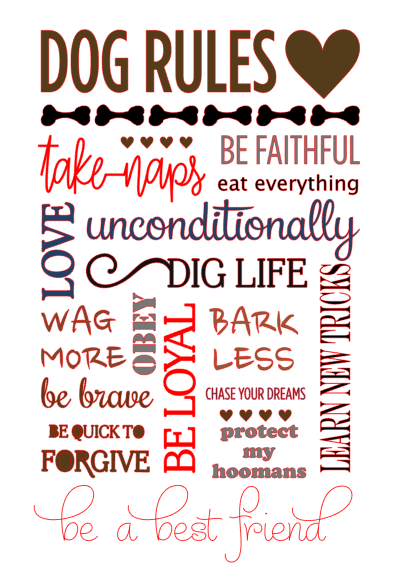
Free Dog Rules Poster Cutting File

07-22-2018

A new updated file can be downloaded here~

dog poster.jpg

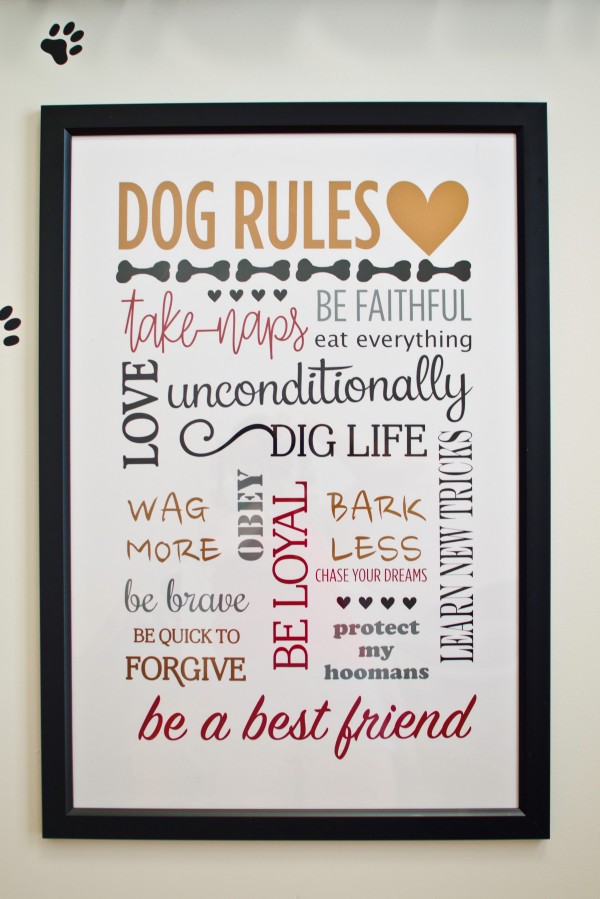
A new cutting file for the silhouette cameo! I have been planning to make a poster for my pooch Trigger for some time now! I was contacted by Shopcraftables shortly before I started my project and the following design is in collaboration with them.  Check them out for all your vinyl and heat transfer material needs!

Screen Shot 2018-06-10 at 10.25.05 PM

Download the file here.

The design is for a 20×30 inch poster and in a .studio format. If other formats are desired, please post a message below!

I will be posting pictures of the completed project using vinyl from Shopcraftables soon!

Copic marker-colored Christmas cards

It’s been some time since I made a post, almost half a year in fact. My time flies! Life has been eventful in many good ways and I’m looking forward to sharing with you all many of my creations these past few months.

This slideshow requires JavaScript.

But first off, I’d like display some of the Christmas cards I’d made for my friends and family this past Christmas. Copic colouring has become a new hobby of mine and because they’re so pricey, I managed to snag a few cheaper knock off alcohol markers on Aliexpress. I’ll put up a blog post about that soon but from my initial foray into alcohol markers, they seem to work quite well!

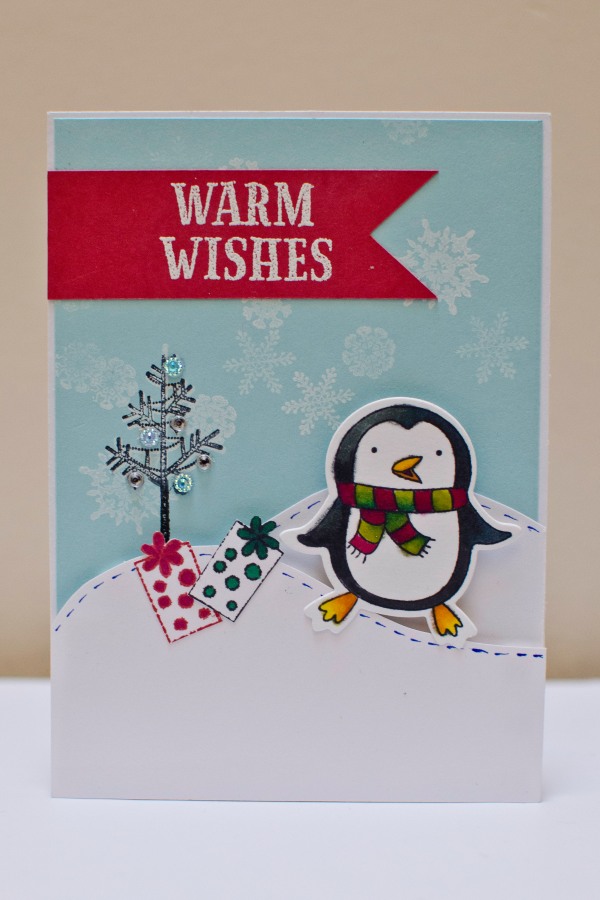
I wanted a cute and wintery theme for my cards so I used my Hampton Art Stamp and Die set – Penguins.
SC0714 Stamp & Die Set - Penguins

In order to use this die you need to have a Sizzix or cuttlebug die-cutting machine.

I stamped the image of the penguins using Memento in Tuxedo black by Tsukineko which is one of the best dye inks for alcohol marker coloring. After coloring the penguins, I cut them out using the penguin die.

To decorate the cards I used a few different kinds of backgrounds, here are a few:

1. staggered snow fields. I used foam dots to create dimension on the snow fields. I used a blue cardstock as the background and stamped white snow flakes .

dsc_0585

2.  A fat ornament on an embossed background. I purposely made the ornament enormous so that it would take up half the card. I cut the ornaments out using my silhouette cameo to the size I wanted. Finally I decorated the ornaments with rhinestones or ribbons.

Finally I used a banner with a white embossed greeting and attached the penguins with a foam dot to make it 3D.

I loved the rhinestone-embellished ornament so much that I made card featuring just the ornament on an embossed background!

Well that’s it I hope you enjoyed these cards and stay tuned for more!


Gorgeous Barefoot Sandals and Life Updates

DSC_0935

Barefoot Sandals:

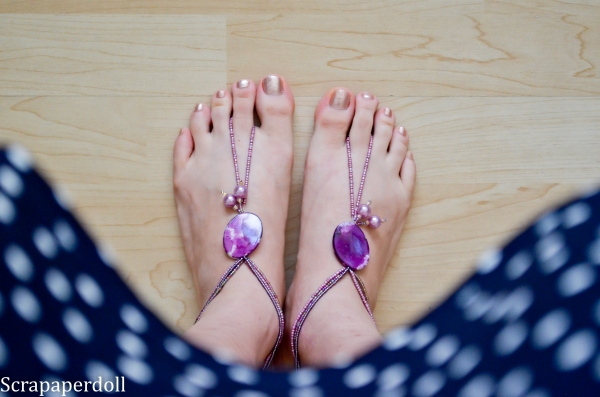
My friend brought me a pair of these gorgeous barefoot sandals that she handcrafted and designed all by herself. What an exciting gift because it made me think about all the adventures that I will now embark on with my new barefoot sandals! These are perfect for walking on the beach without your sandals, but having accessorised feet! She even made some wedding-themed ones for her sister in law who is getting married!

I wanted to share with you her beautiful creation, if she lets me, I will try to film her making one of these as a tutorial on how to make it!


Life Update:

Recently I’ve been away for a few months because I’ve been struggling a lot with the different events in my personal and academic life. 2016 thus far has been quite eventful and not necessarily in a good way. There have been many high points but also many low points too. All of this culminated in being hospitalised and having emergency surgery for appendicitis. But by God’s grace this may have been the best thing that’s happened to me all year because it’s reminded me of the first time I was there, lying on a stretcher, waiting to go under the knife and scared about the consequences. But just like the first time, a spirit of peace came to me, and then I wasn’t scared. It reminded me that God has a plan for me and that He plans to give me hope and a future. With that kind of encouragement, I found great peace and joy in closing some doors in my life while opening others. I am eager to see where my God leads me in the future!

During my recovery  many friends came to visit with me, sit with me, let me chatter on about my life. They encouraged and prayed over me to receive healing. I am so grateful for their expression of love.

I am hopeful that I can be more present on my blog from now on and continue to document all of my creations!